
A lot of podcasters sit down to edit with the wrong expectation. They think editing starts when the waveform is on screen and the scissors tool is ready. It doesn't. By that point, most of the important quality decisions have already started to show up in the recording itself, the file organization, and the plan for how that episode will be reused later.
That matters because podcasting isn't a niche hobby anymore. Podcast listening is projected to reach 584.1 million people worldwide in 2026, up 6.83% from about 546.7 million in 2024, according to Podcast Statistics. When the audience is that large, editing choices aren't cosmetic. They shape whether a listener stays, trusts the host, and comes back next week.
A professional workflow for how to edit podcast audio has to do more than remove mistakes. It has to create a natural listening rhythm, solve uneven remote recordings, and leave behind clean assets for clips, reels, transcripts, and platform-specific versions. That's how a show starts sounding cinematic instead of merely acceptable.
Table of Contents
- Your Professional Editing Workspace Setup
- The Structural Edit Shaping Your Narrative
- Audio Restoration and Cleanup Techniques
- Mixing for a Cohesive Listening Experience
- Mastering and Exporting Your Publish Ready Episode
- Time Saving Workflows and Editing for Repurposing
Your Professional Editing Workspace Setup
Professional editors borrow a concept from kitchens: mise en place. Everything has a place before the work begins. In podcast editing, that means the session is organized before a single cut is made.
Without that discipline, projects get fragile fast. A missing guest track, a relinked music file, or an export saved over the wrong version can turn a simple edit into recovery work. For shows with remote guests, video layers, and social cutdowns, that chaos compounds.
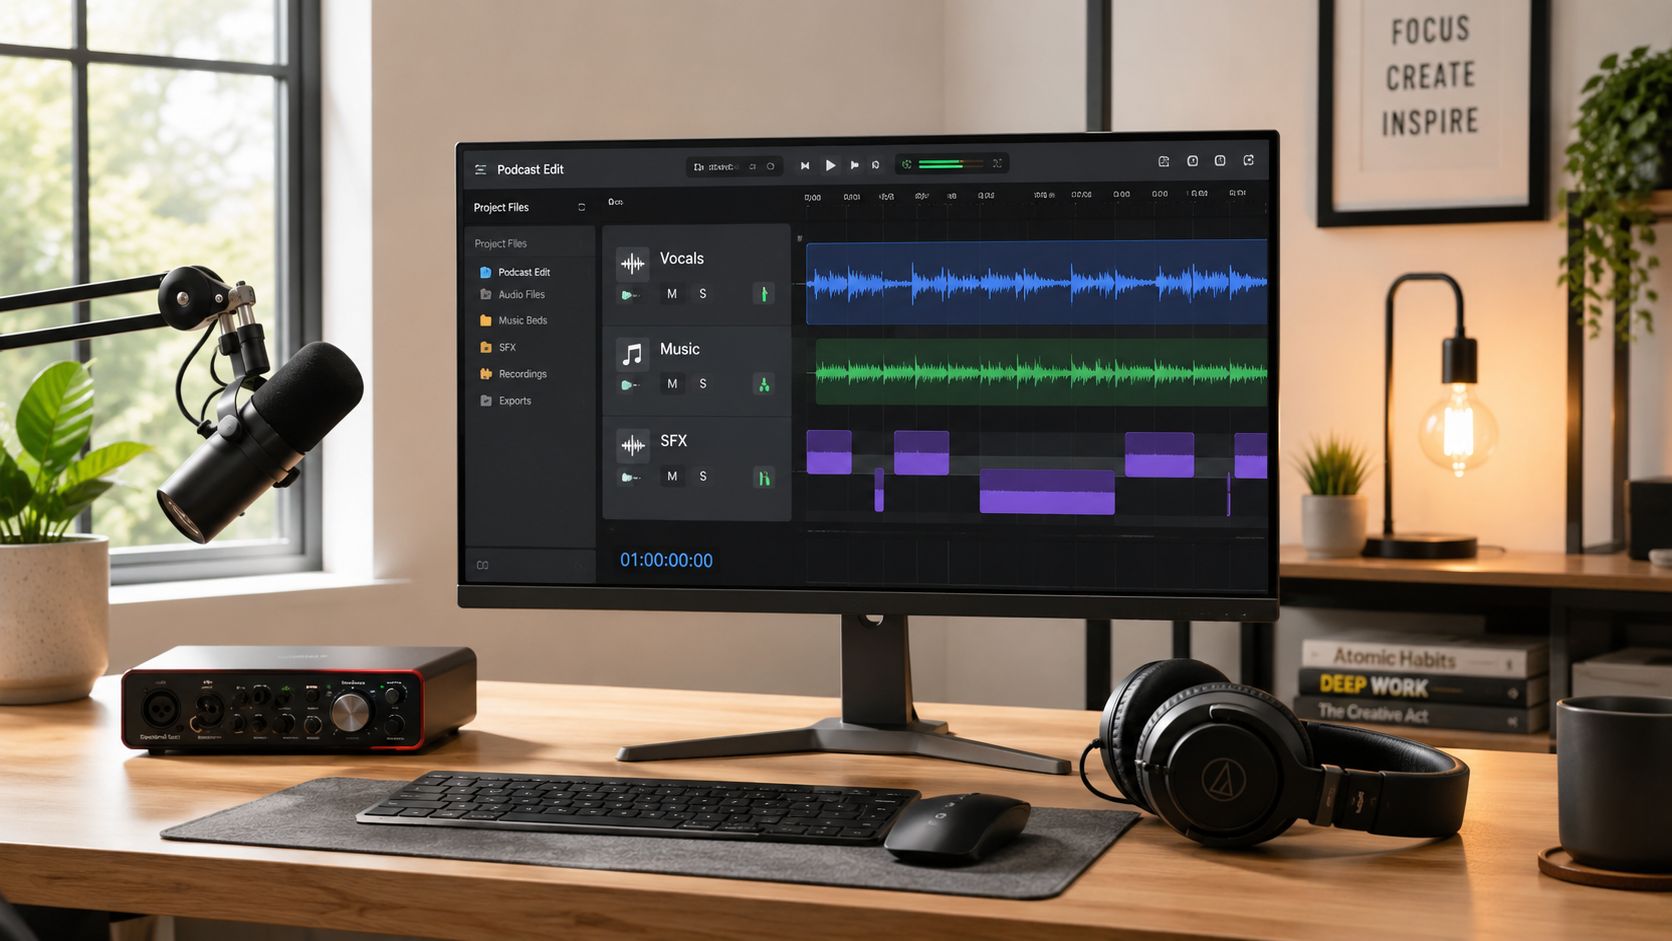
Build a project structure that doesn't break
A clean folder tree solves more problems than most plugins ever will. A practical setup looks like this:
- Raw recordings. Put original host, guest, room tone, and backup files here. Never edit these directly.
- Project files. Save the DAW session in its own folder so autosaves, peak files, and linked assets stay contained.
- Music and brand assets. Keep intro music, outro music, stingers, and ad beds separated from episode recordings.
- Exports. Create distinct folders for review exports, final masters, and publish-ready deliverables.
- Repurposing assets. Drop transcripts, clip selects, thumbnails, and social references in a dedicated location.
That structure supports a non-destructive workflow. The original audio remains untouched, the active edit stays recoverable, and the final files are easy to find months later.
Practical rule: If a project can't be handed to another editor without a long explanation, the workspace isn't organized enough.
Set up the DAW before the edit starts
The software matters less than consistency. Adobe Audition, Reaper, Logic Pro, and Pro Tools can all handle spoken-word production well if the editor builds templates instead of starting from scratch every time. For teams choosing tools, this roundup of best podcast editing software for 2026 is useful because it compares workflow styles rather than just feature lists.
Template sessions should already include labeled tracks for host, guest, music, SFX, and print bus. Color coding helps even more. One color for dialogue, another for music, another for cut selects. That sounds simple because it is. Simple systems scale.
For remote productions, recording choices affect everything downstream. A well-run remote session creates cleaner isolated tracks, fewer sync problems, and less repair work later. Get Up Productions outlines those recording fundamentals in its guide to recording a podcast remotely.
Small setup choices that save hours
A few habits separate fast editors from frustrated ones:
| Workflow choice | Why it matters |
|---|---|
| Rename files immediately | "Guest_Final.wav" tells less than "Ep12_GuestName_ISO.wav" |
| Duplicate the session before major revisions | Protects against destructive structural changes |
| Import room tone if available | Helps patch cuts more naturally than hard silence |
| Use markers from the first listen | Reduces repeated hunting later in the timeline |
A polished sound starts before processing. It starts with a session that stays stable, readable, and repeatable.
The Structural Edit Shaping Your Narrative
The structural edit is where the episode becomes an episode. Before EQ, compression, or mastering, the editor has to decide what the conversation is trying to say and how quickly it should get there.
That's why experienced producers treat this stage more like documentary editing than sound repair. The first pass isn't about tiny mouth clicks. It's about momentum, clarity, and whether each section earns its place.
Listen once for story, not polish
A raw interview often contains good material buried under false starts, repeated thoughts, side roads, and soft openings. The first serious pass should focus on the macro layer:
- Mark the effective opening. Many guests need a minute to settle in before the strongest answer arrives.
- Cut duplicate explanations. If a host and guest both explain the same point, keep the clearer version.
- Trim detours that don't pay off. A tangent can be entertaining, but it has to serve tone or substance.
- Shorten pauses that feel empty. Not every silence is bad, but dead air weakens confidence fast.
- Preserve conversational breath. Over-tightening can make intelligent people sound nervous or synthetic.
A practical benchmark from The Podcast Host's editing guide shows how much this stage can vary. A 30-minute episode can take as little as 15 minutes to edit in an efficient setup, while a complex hour-long episode can take 3 to 5 hours. The gap usually comes from recording quality, structure, and how disciplined the conversation was before editing began.
Use markers and ripple edits deliberately
Markers are one of the easiest ways to speed up a structural pass. Instead of cutting as soon as every issue appears, many editors move through the whole conversation placing notes such as "cold open option," "story tangent," "clip candidate," or "remove repeat."
Then the actual shaping becomes faster because the timeline already has decision points.
A useful pattern looks like this:
- Green markers for strong quotes or likely promotional clips
- Yellow markers for sections that need shortening
- Red markers for clear removals
- Blue markers for music, ad, or chapter transition moments
Ripple delete is the right tool here because it closes gaps automatically. But it has to be used carefully when multiple tracks are involved. In remote sessions, one careless ripple can throw sync out across host, guest, and video reference tracks.
The best structural edits don't sound edited. They sound like the speaker was unusually clear on the first take.
Tighten language without flattening personality
Filler word removal is one of the most misunderstood parts of how to edit podcast audio. Not every "um" should go. Some verbal pauses buy emotional space, soften a hard claim, or make an answer feel honest. The job isn't to sterilize speech. It's to remove friction.
A good test is simple: if the filler interrupts meaning, cut it. If it supports cadence, leave it.
The same rule applies to episode length. Many podcast episodes sit in the 20 to 40 minute range, as noted earlier in the article from Podcast Statistics, but fitting that runtime shouldn't turn into arbitrary trimming. A shorter episode works when it stays complete. A longer episode works when it never drags.
Audio Restoration and Cleanup Techniques
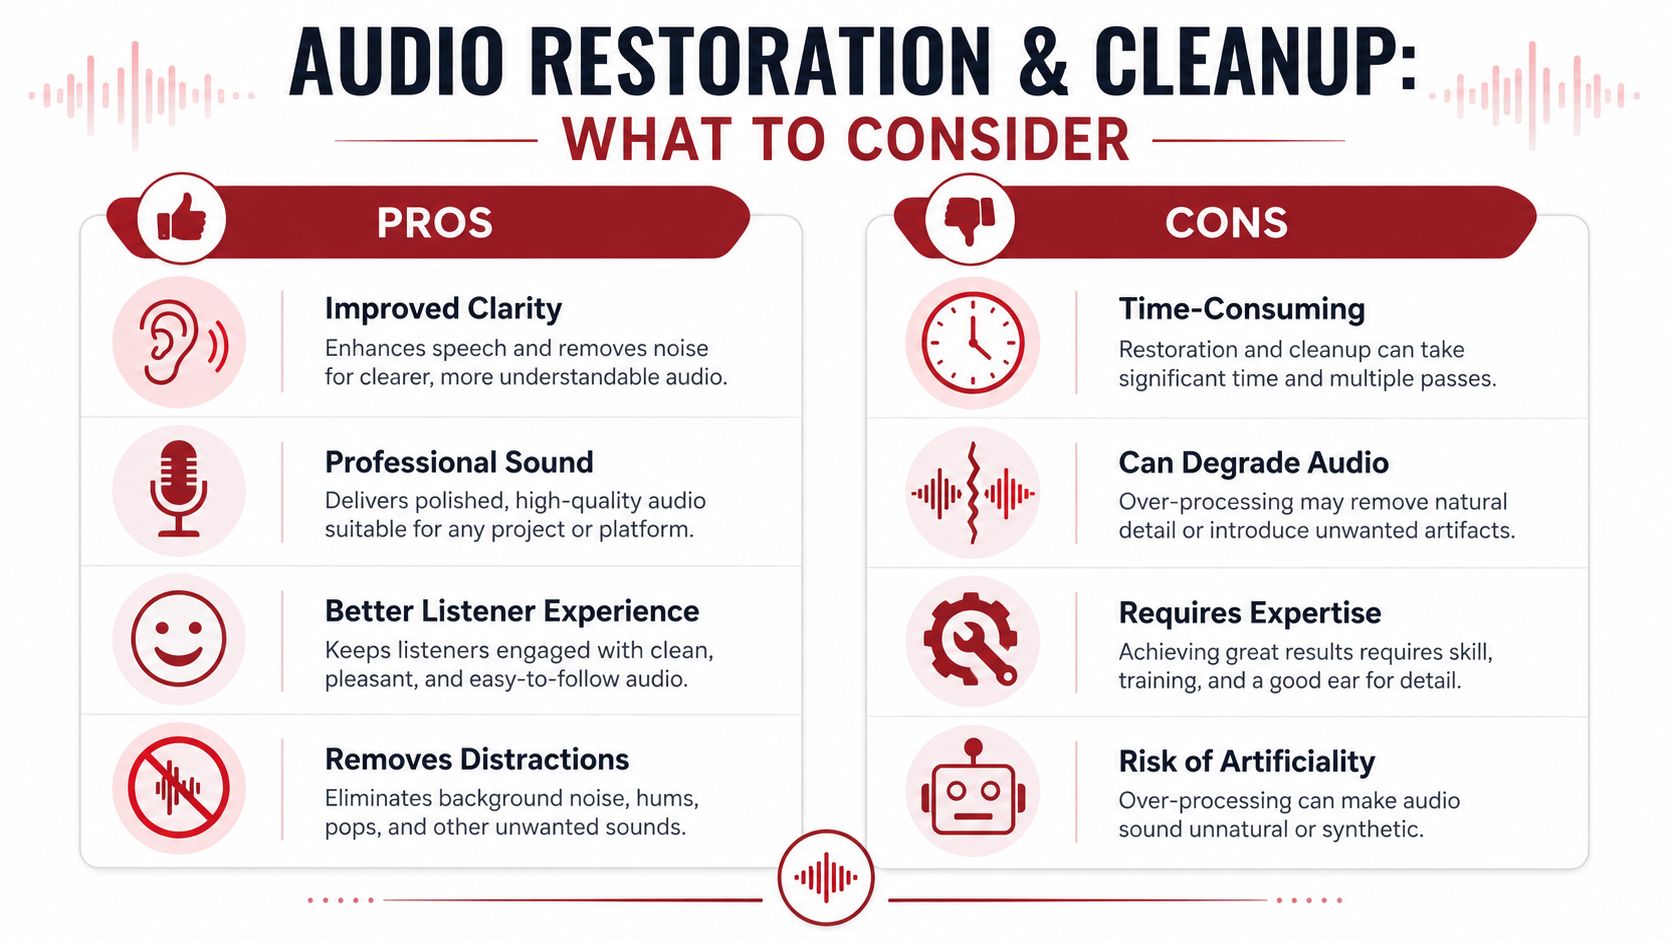
Once the story is shaped, the next job is restoration. A rough recording is then cleaned without sounding processed. That distinction matters. Listeners will forgive a touch of room tone long before they'll forgive robotic dialogue.
One of the most common problems is constant background noise. Laptop fan hum, HVAC rumble, a distant road, or a room with too much hard reflection can all sit under the voice. The mistake beginners make is trying to erase all of it in one aggressive move.
Start with subtraction, not enhancement
A safer cleanup chain for spoken word usually begins by removing what shouldn't be there:
- High-pass filtering. A filter below roughly 80 to 100 Hz removes low-end rumble that speech doesn't need, according to Wavve's advanced podcast editing techniques.
- Broad noise reduction. Use it lightly on steady noise, not as a cure-all.
- Manual repair. Fix plosives, clicks, and isolated bumps by hand where possible.
- De-essing. Tame harsh consonants in the 5 to 10 kHz range instead of dulling the whole vocal.
That source makes the key point clear: subtlety wins. If the cleanup effect is obvious, the edit has probably gone too far.
Fix the problems listeners actually notice
Editors often spend too long chasing issues that barely register while ignoring the ones that make people stop listening. In spoken-word production, the most distracting artifacts are usually:
| Problem | What it sounds like | Better approach |
|---|---|---|
| Low rumble | HVAC, desk thumps, traffic floor | High-pass filter and clip repair |
| Sibilance | Sharp "s" and "sh" sounds | Targeted de-esser, not blanket EQ cuts |
| Mouth clicks | Tiny sticky ticks between words | Spectral repair or manual gain reduction |
| Plosives | Bursts on "p" and "b" sounds | Clip gain, low-frequency attenuation |
| Hiss | Constant high noise bed | Gentle denoise and careful EQ |
Some editors also benefit from a stronger understanding of room problems, especially echo and reflective spaces. This creator's guide to professional sound is useful for diagnosing what can be improved in post and what needs to be fixed at the recording stage instead.
A quick visual walkthrough can help when learning what these tools are doing in practice.
Know when to stop
The golden rule of restoration is restraint. Clean audio should still sound human. Room tone should still exist in some form. Breath should still exist in some form. Even dynamic inconsistency can be acceptable if it supports realism.
Over-processing usually solves one problem by creating two new ones. The voice loses warmth, consonants smear, and the listener starts hearing the software instead of the speaker.
That is why many professional sessions rely on a hybrid method. Use plugins for broad correction, then use manual editing for the moments that matter most. It takes more attention, but it protects natural speech.
Mixing for a Cohesive Listening Experience
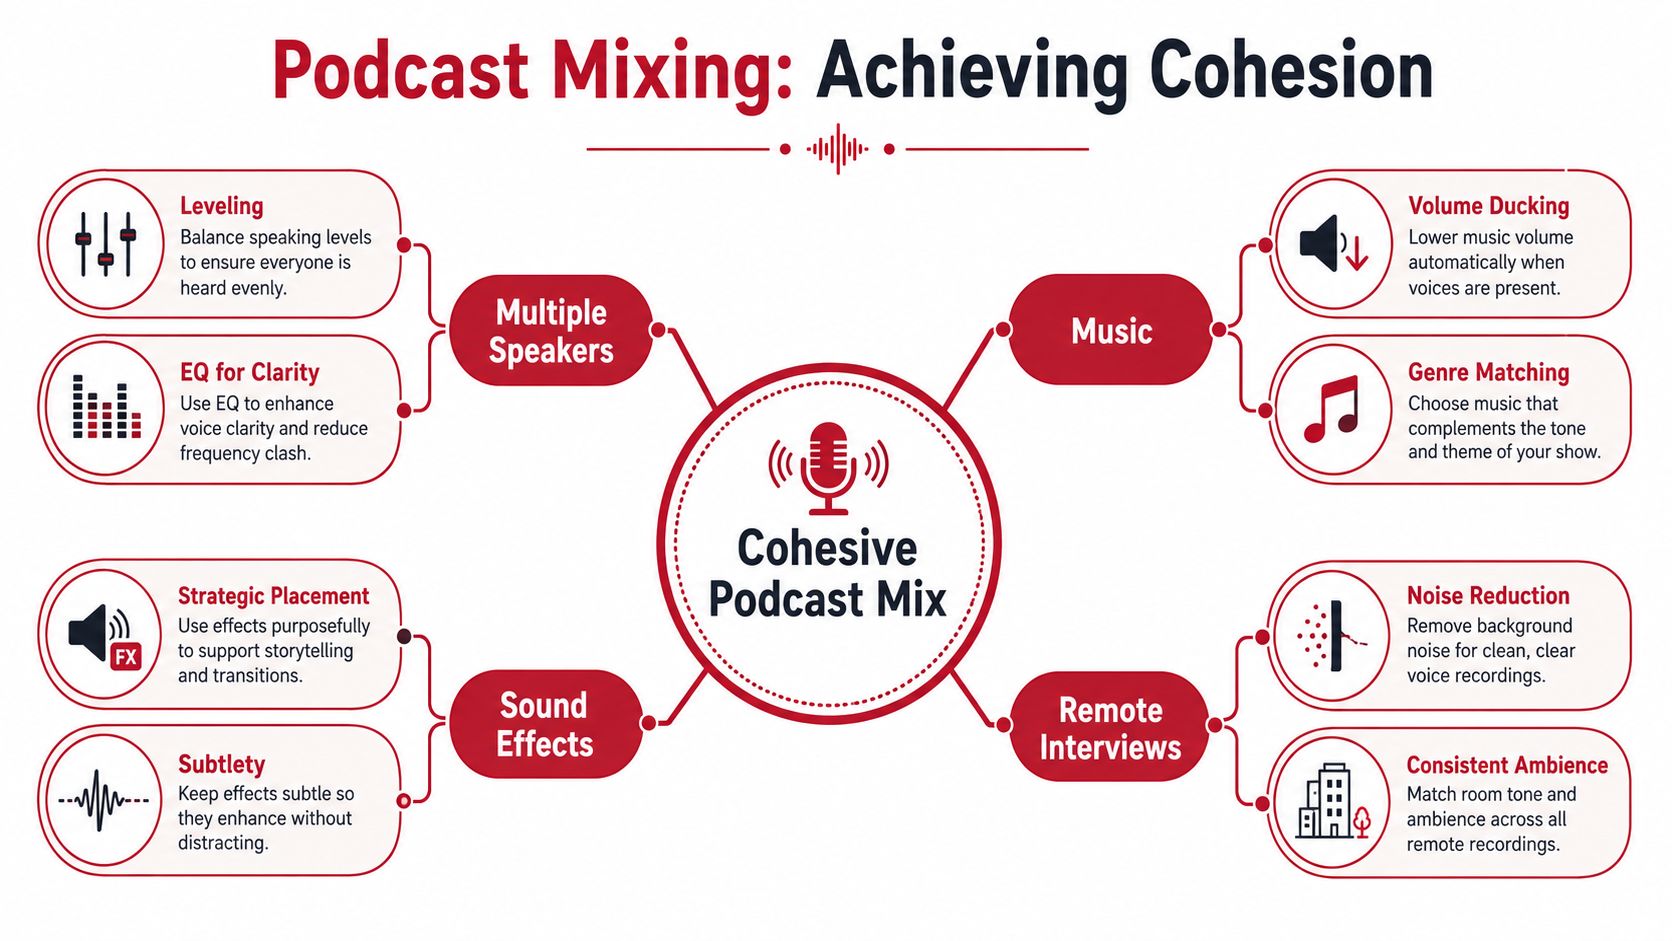
A polished podcast mix doesn't make every voice identical. It makes every voice feel like it belongs in the same production. That's the main challenge, especially in remote interviews where one speaker may be on a treated mic and another is speaking into a USB mic in a reflective office.
The mixer has to create a shared acoustic space. That means balancing tone, loudness, and perceived proximity so the listener doesn't feel yanked between recording environments.
Remote recordings need a different mindset
Beginner advice on podcast editing often focuses on filler word cuts and intro music. The harder problem is remote dialogue. A guest track can arrive with a different noise floor, different latency, and very different mic character. A practical overview of that challenge appears in this remote and multi-speaker editing walkthrough, which highlights syncing separate tracks and balancing mismatched sources.
That work usually starts before tonal shaping. The editor has to:
- Sync isolated tracks accurately so reactions and interruptions feel natural
- Mute scratch or camera audio once the clean sources are aligned
- Check cross-talk moments where one person's mic captures the other's bleed
- Match clip gain first before reaching for compression
If the raw level balance is wrong, every later processor has to work harder.
Use EQ to narrow the gap between speakers
EQ in spoken word is less about making a voice exciting and more about removing distractions. A studio mic may have more body and smoother top end. A remote USB mic may sound narrower, brighter, or boxier. Mixing closes that gap by reducing what draws attention.
A practical approach:
- Roll out low-end rumble that doesn't support speech.
- Cut boxy or muddy frequencies if a room sound is clouding intelligibility.
- Add a light presence lift only if the speaker sounds buried.
- Compare host and guest in alternating playback, not solo mode.
Soloing is useful for finding a problem. It can be misleading for making the final tonal decision. The listener hears relationships, not isolated tracks.
A good podcast mix isn't judged one track at a time. It's judged by whether the listener ever feels the need to adjust volume or mentally recalibrate when the speaker changes.
Compression should control movement, not flatten life
Compression is often described as an automatic volume knob, and that's close enough for spoken word. The goal is to reduce jumps between quiet and loud phrases so the episode feels steady in headphones, in the car, and on smart speakers.
A common spoken-word starting point is a 3:1 or 4:1 ratio with fast attack and moderate release, as discussed earlier in the article from Wavve. But settings should follow the voice. A host with steady delivery may need very little. A highly animated guest may need more control but still enough dynamic movement to sound alive.
Music and transitions matter here too. Intro music should feel intentional, not detached from the voice. Beds need ducking under speech so they support mood without competing for attention. For teams planning fuller production packages, Get Up Productions also outlines how to choose and use podcast background music in ways that support the spoken word instead of overwhelming it.
What works and what doesn't
A quick comparison makes the trade-offs clearer:
| Works | Doesn't work |
|---|---|
| Matching perceived loudness before heavy processing | Compressing wildly uneven tracks and hoping they settle |
| EQ cuts to remove obvious room problems | Massive EQ boosts to force a cheap mic into a premium sound |
| Light bus processing after individual cleanup | Heavy bus compression used as a shortcut for poor balancing |
| Reference listening on headphones and speakers | Judging the entire mix on one playback device |
Cohesion isn't a preset. It's a sequence of small corrections that help the entire episode feel intentional.
Mastering and Exporting Your Publish Ready Episode
Mastering is final quality control. At this stage, the narrative is shaped, the cleanup is finished, and the mix feels balanced. The remaining job is to make sure the episode plays back consistently across podcast apps, phones, laptops, cars, and smart speakers.
A simple way to think about LUFS is this: it measures perceived loudness over time, not just peak level. That's why a file can avoid clipping and still feel too quiet or too inconsistent next to other podcasts.
Use a final mastering checklist
A reliable spoken-word mastering pass usually includes these checks:
- Confirm intro and outro placement. Make sure music starts and ends cleanly, with fades that feel deliberate.
- Catch stray peaks. A limiter can control unexpected spikes without changing the tone of the whole episode.
- Check overall loudness. Industry guidance summarized by LucidLink's podcast editing workflow recommends targeting -16 LUFS for stereo podcasts and -19 LUFS for mono.
- Audit transitions. Listen to ad joins, music exits, and segment handoffs for abrupt shifts.
- Export for compatibility. A common publish-ready delivery is MP3 at 128 kbps with a 44.1 kHz sample rate.
These settings aren't glamorous, but they prevent avoidable publishing issues. A great edit can still feel amateur if one segment is noticeably louder than another or if the export format creates playback problems on common platforms.
Do one full real-time listen before upload
The final listen shouldn't happen while watching meters. It should happen like a listener would hear it. Headphones catch clicks and edits. Speakers reveal whether the tonal balance still makes sense in open air.
This is also the point to confirm metadata, file naming, and version control. If the workflow needs a dedicated toolset for that last stage, this overview of podcast editing software is a useful reference for comparing editing and finishing options.
The last five percent of polish is rarely about another plugin. It's about careful listening when the editor is no longer trying to fix everything at once.
Time Saving Workflows and Editing for Repurposing
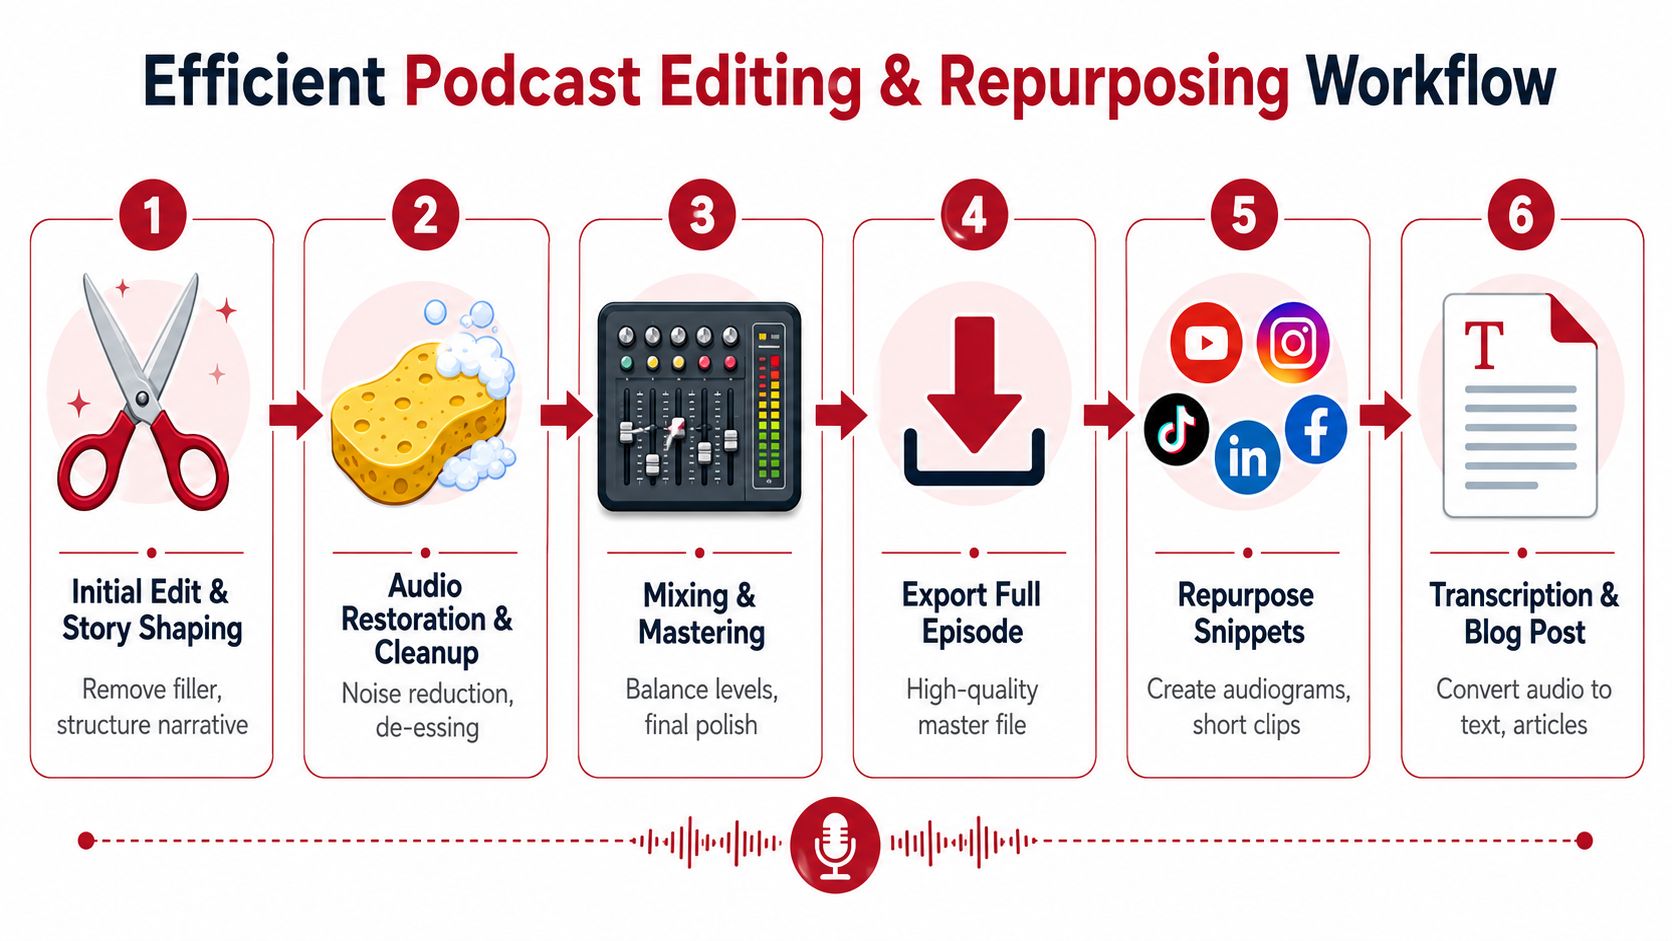
Efficient editing isn't just about finishing faster. It's about making the full episode more valuable after it ships. The strongest podcast workflows are built for the Content Waterfall from the start, not retrofitted after the episode is done.
That changes editorial decisions. A strong editor doesn't only ask whether a cut improves pacing. The editor also asks whether the section contains a clean social clip, a quote for a carousel, or a segment that can become a blog post excerpt.
Build templates that carry production weight
Templates save time because they remove repetitive setup decisions. A solid podcast template can include prebuilt track routing, loudness meter placement, intro and outro lanes, bus processing, and marker color standards for clips.
Batch processing helps too, especially when multiple isolated tracks need similar cleanup. But the bigger gain often comes from tagging the timeline well during the main edit:
- Clip-worthy moments marked during the structural pass
- Clean pull quotes identified where the guest lands a clear statement
- Visual sync notes added for multicam or waveform-based video edits
- Transcript flags placed where technical terms or names need review
Recent creator workflows increasingly emphasize multicam edits and reuse across Shorts, Instagram, and YouTube. The operational advantage comes when the full-episode edit already protects those later outputs instead of forcing a second team to rediscover them.
Edit the full episode with downstream assets in mind
Repurposing gets easier when the editor leaves behind organized assets, not just a final MP3. One practical addition is a transcript-ready handoff. For teams turning episodes into articles, show notes, and searchable content, this practical guide for transcribing podcasts is a useful companion resource.
The most scalable workflow is simple: one disciplined edit produces the master conversation, the social moments, and the text foundation at the same time. That's how podcast editing stops being a bottleneck and starts becoming a content system.
Get Up Productions helps brands, creators, nonprofits, and thought leaders turn raw recordings into polished podcast episodes and reusable content assets. The team handles recording support, audio editing, mastering, video-first deliverables, and repurposing workflows that keep one episode working long after publication. Learn more at Get Up Productions.