
A raw podcast file usually sounds worse than the conversation felt in the room. There's dead air at the top, a loud inhale before every answer, HVAC rumble under the whole take, and one speaker is somehow much louder than the other. That's normal. The job of audio editing for podcasts isn't to make people sound fake. It's to remove distractions so the listener can stay with the ideas.
That matters more than most creators think. Poor audio quality pushes listeners away, and 62% of potential audience members will drop a podcast due to subpar sound, according to Next Media's podcast editing workflow overview. A polished edit doesn't just sound nicer. It protects retention, authority, and the chances that someone listens long enough to trust the host.
A hyper-complex post workflow is not often required. A dependable one is. A practical setup starts before the edit, especially if the recording itself was remote. Strong source files make every downstream decision easier, which is why a clean remote capture process matters as much as the edit itself. For teams still dialing that in, this guide on how to record a podcast remotely is worth reviewing before the next session.
For quick fixes outside a full DAW, a simple online tool to edit audio clips can help trim intros, remove obvious mistakes, or prep a rough asset before deeper editing starts.
Table of Contents
- From Raw Recording to Polished Podcast
- Foundational Prep and AI-Powered Rough Cuts
- Repairing and Clarifying Your Audio
- Shaping Vocals with EQ and Dynamics
- Mixing and Mastering for Every Platform
- When to Outsource Your Podcast Editing
From Raw Recording to Polished Podcast
Raw sessions rarely fail because of one catastrophic issue. They fail because small problems stack up. Room tone gets noisy, pacing drifts, speakers overlap, and the episode has no shape yet. Audio editing for podcasts is the process that turns that mess into something listeners can move through without friction.
A good edit has structure. It starts with cleanup, then pacing, then tone shaping, then loudness control, then export. Reversing that order usually creates extra work because editors end up mastering a file that still has obvious flaws buried inside it.
Practical rule: The best edit is the one the listener doesn't notice.
There's also a trade-off that matters for busy founders, marketers, and hosts. Technically possible isn't the same as necessary. A podcast doesn't need every plugin in the rack. It needs clean speech, stable levels, sensible pacing, and delivery specs that won't cause problems on listening platforms.
That's why the workflow below stays tight. It prioritizes what changes the listening experience.
- Clean first: Remove hum, clicks, filler, and long empty pauses before touching sweetening.
- Shape second: Use EQ and compression once the dialogue is stable.
- Master last: Set final loudness and peak control only after the content is locked.
Some tools help at the edges, but no shortcut replaces judgment. If a breath adds urgency, keep it. If a pause creates emphasis, don't cut it just because software found silence. Professional results come from deciding what serves clarity and what only serves neatness.
Foundational Prep and AI-Powered Rough Cuts
A messy edit usually starts with a messy project. Files are dumped into one folder, version names don't mean anything, and halfway through the process nobody knows which WAV is current. That isn't a software problem. It's a workflow problem.
Set up the project before touching the timeline
Use a folder structure that makes handoff and revision easy. One practical setup is:
- Raw audio: Original host, guest, and backup recordings.
- Project files: The DAW session, text-based edit project, and autosaves.
- Assets: Intro, outro, ad reads, music beds, and SFX.
- Exports: Review MP3s and final masters.
- Notes: Transcript, show notes draft, timecoded revision list.
File names should answer three questions fast: what episode this is, whose track it is, and what version it belongs to. Names like ep042-host-raw.wav and ep042-roughcut-v2.rpp prevent confusion later.

Text-based editing also works better when transcripts are reliable. For teams comparing options, high-accuracy podcast transcription is worth evaluating because rough-cut speed depends heavily on transcript quality.
Use AI for the first pass, not the final pass
AI is the biggest time-saver in modern podcast editing when it's used correctly. According to Resound's podcast editing benchmark article, AI tools for text-based editing and filler word removal can deliver up to 95% efficiency gains, with 88-95% listener satisfaction, and can reduce episode length by 15-25%.
That doesn't mean the editor should hit delete on every “um” and publish. It means AI should create the rough cut, then a human should decide what stays.
A practical rough-cut workflow looks like this:
- Import the cleanest source files available. Multitrack WAV files make text edits less risky because each speaker stays isolated.
- Run transcription and filler detection. Tools like Descript or Resound can flag verbal clutter quickly.
- Approve obvious removals first. Repeated false starts, long dead air, and redundant filler are safe wins.
- Check every sentence boundary. AI often cuts too close to consonants or breaths.
- Shorten pauses selectively. Tight pacing helps, but not every pause is wasted time.
Leave a little human air in the timeline. Over-tightening makes smart people sound anxious.
A few choices separate a clean rough cut from a robotic one:
- Keep functional breaths: If removing a breath makes the next word feel slammed in, restore it.
- Protect interruptions that reveal chemistry: In interviews, slight overlap can sound natural.
- Watch for meaning changes: Removing filler is fine. Removing hesitation that signals uncertainty can rewrite the speaker's intent.
The rough cut should solve pacing and obvious clutter. It shouldn't try to finish the episode. Once the story is in shape, detailed repair gets easier because the editor is no longer cleaning audio that may be deleted later.
Repairing and Clarifying Your Audio
Repair work is where many edits either become clean or start sounding damaged. The goal isn't to strip every trace of the room. The goal is to stop the room from competing with the voice.
Remove what competes with the voice
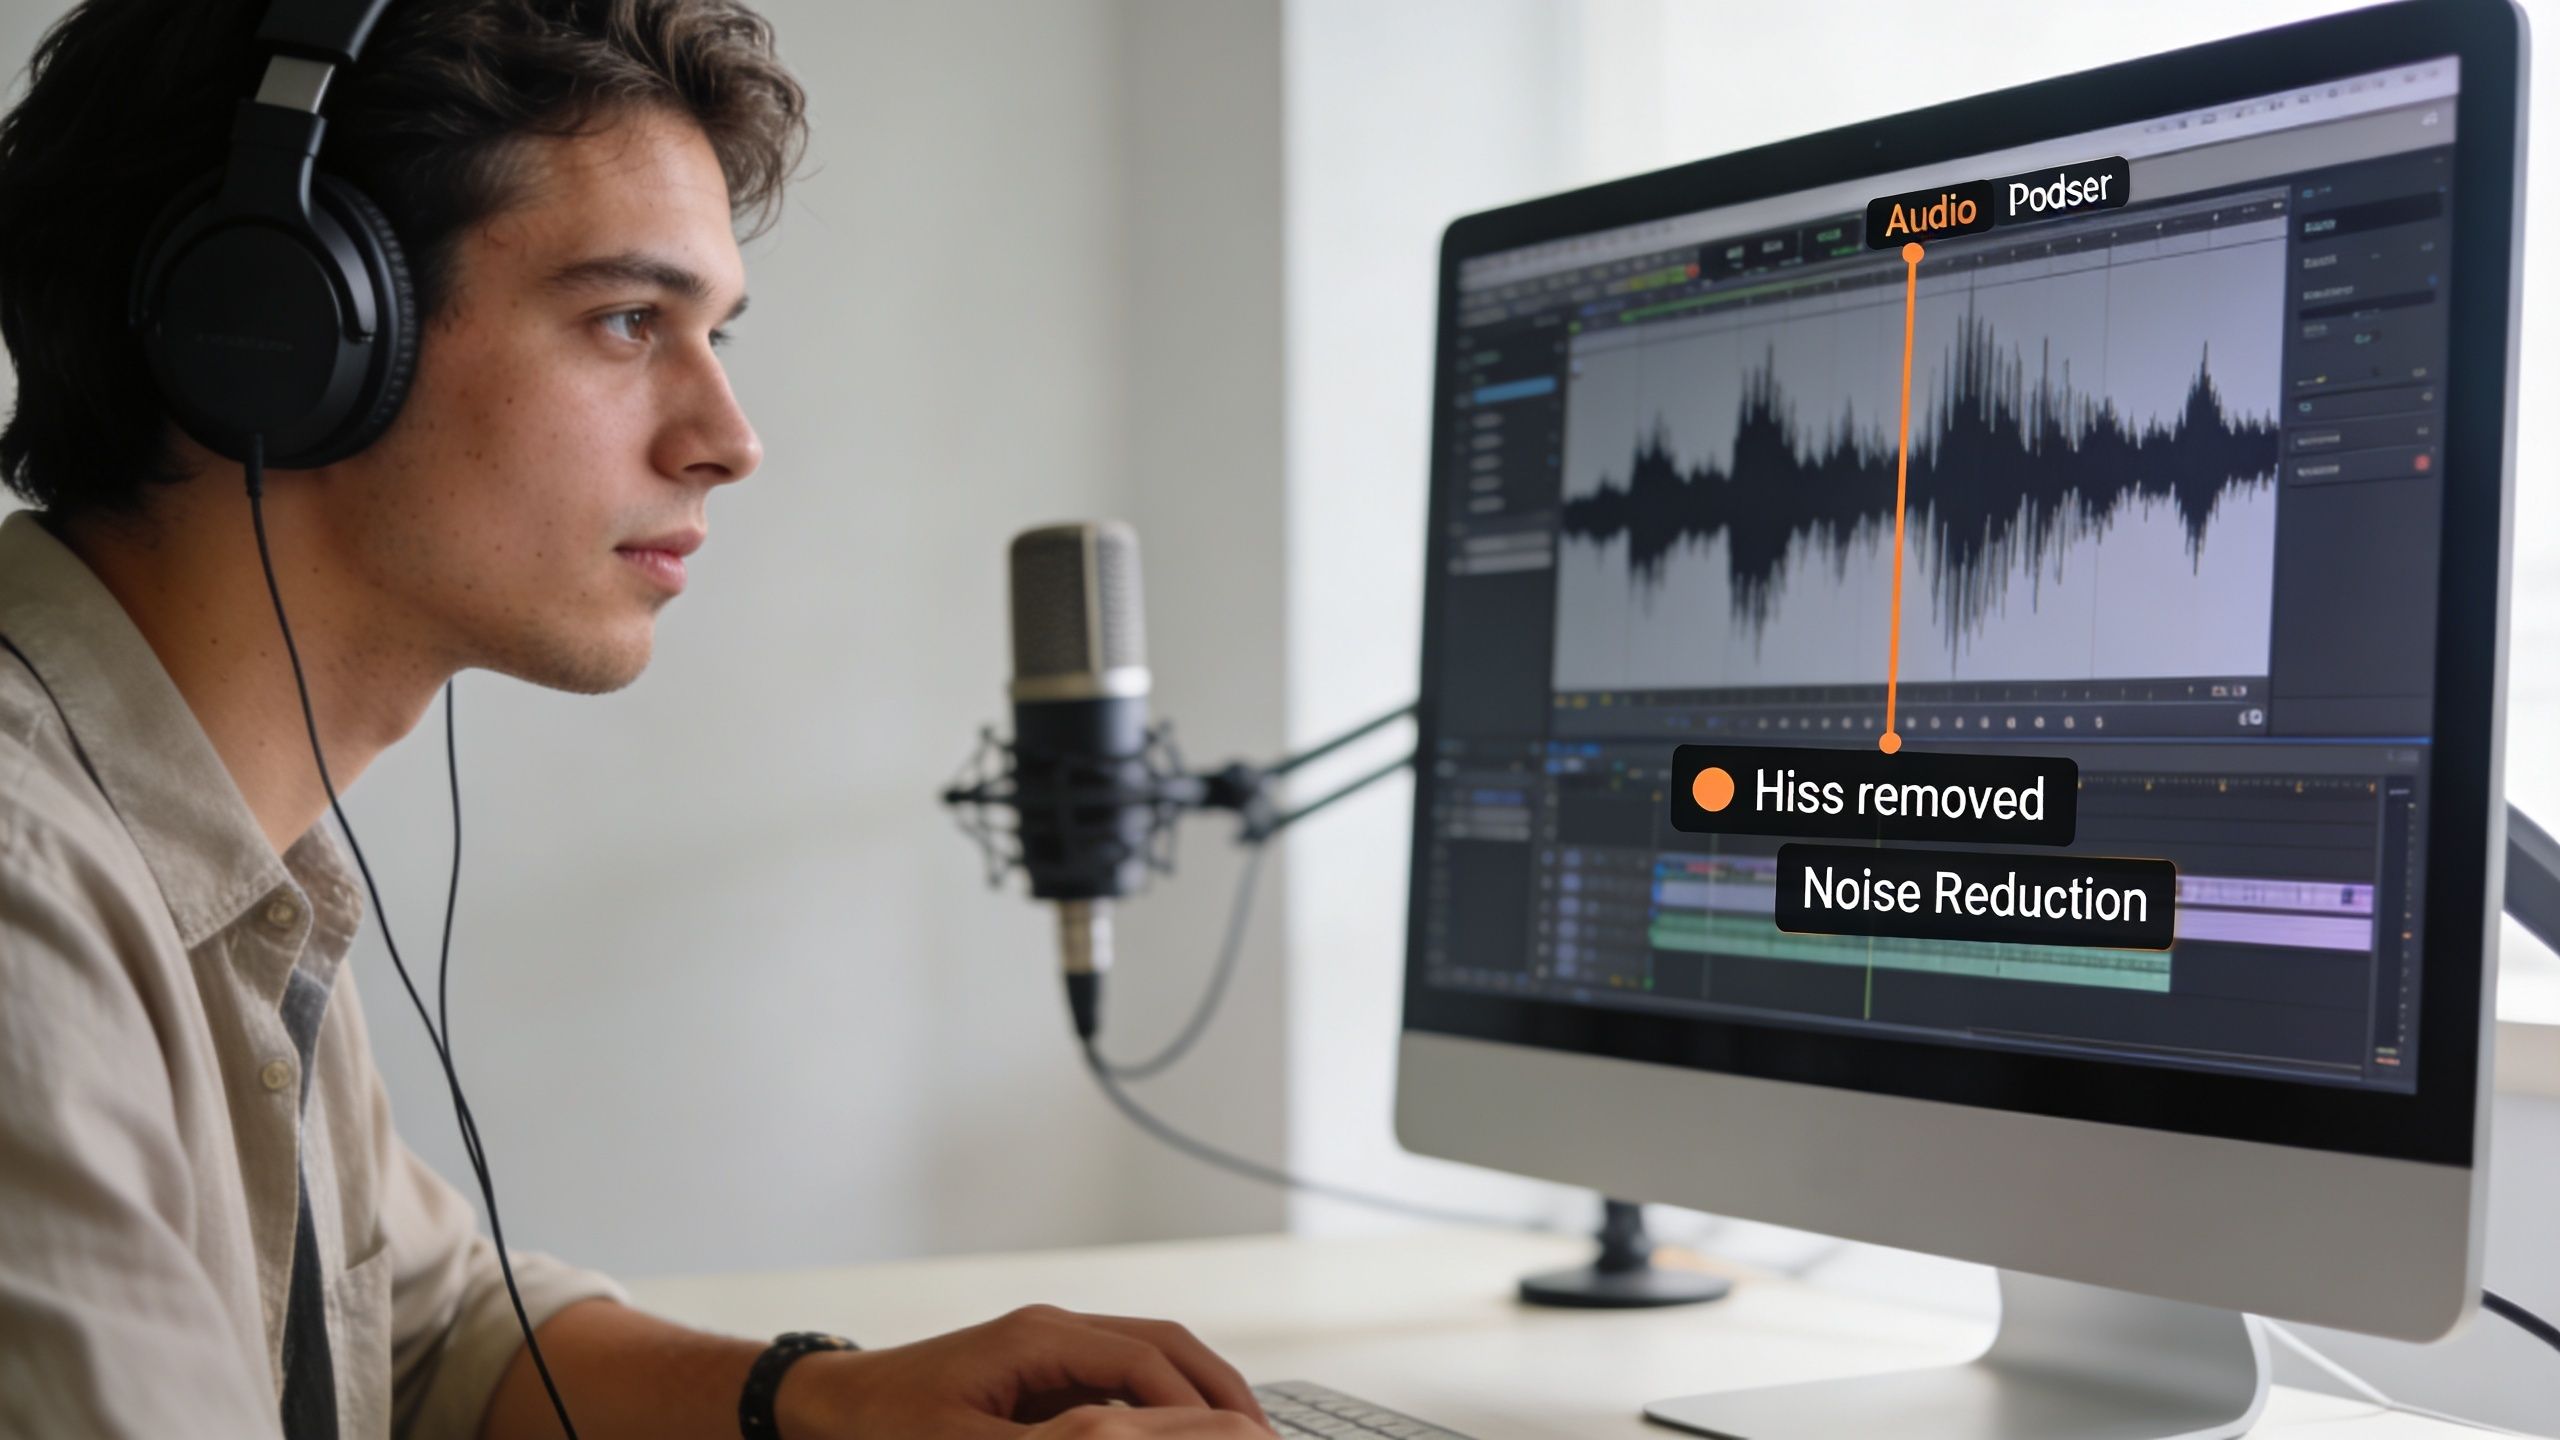
Start with constant problems. Hum, fan noise, room rumble, and broadband hiss are easier to tame than random handling noise. Use a light hand. Heavy noise reduction can leave behind metallic artifacts that sound worse than the original issue.
Useful tools here include Adobe Audition's noise reduction, iZotope RX for mouth clicks and hum, and stock EQ filters in Reaper or Audition for rumble. A high-pass filter often solves more than people expect when the problem sits low in the spectrum.
This is also where source quality affects everything downstream. If the audio will be transcribed, repurposed, or edited by text, cleaner speech pays off twice. This guide on optimizing audio for accurate transcription is a practical companion because transcription quality and edit quality are tightly linked.
A simple repair order works well:
- Rumble first: Apply a high-pass filter to remove low-end buildup.
- Hum next: Target electrical noise carefully, especially if it's narrow and steady.
- Clicks after that: Mouth noise repair is easier once the low garbage is gone.
- Broad noise last: Use gentle reduction only if the remaining noise is still distracting.
Fix plosives, clicks, and bad cuts before mixing
Plosives are the heavy pops on P and B sounds. Mouth clicks are the tiny sharp ticks that become obvious in headphones. Bad cuts are the edits that chop off a consonant or create a pop between words. These are small problems that listeners notice fast.
A de-plosive tool can help, but a manual edit often works better. Lowering the thump on the specific waveform and combining that with a targeted filter usually sounds more natural than smashing the entire track with aggressive processing.
A quick demonstration helps here:
If a repair setting sounds impressive in solo, check it again in context. Podcast listeners hear the sentence, not the plugin.
Also check the transitions created during AI editing. Crossfades matter. Room tone matters. If one side of a cut has a different noise floor than the other, the edit will call attention to itself even when the words sound clean. Before moving into EQ and compression, the dialogue should already feel stable, natural, and free from obvious technical distractions.
Shaping Vocals with EQ and Dynamics
Once the dialogue is repaired, the edit can move from subtraction to shaping. The podcast begins to sound finished. Not because it gets louder, but because the voice becomes easier to follow for an entire episode.
Build the vocal chain in the right order
A dependable vocal chain begins with cleanup and then moves into control. According to Wavve's advanced podcast editing techniques, a professional chain often starts with a high-pass filter at 80-120Hz, followed by a compressor at a 4:1 ratio with a -24dB to -18dB threshold, aiming for 3-6dB of gain reduction.
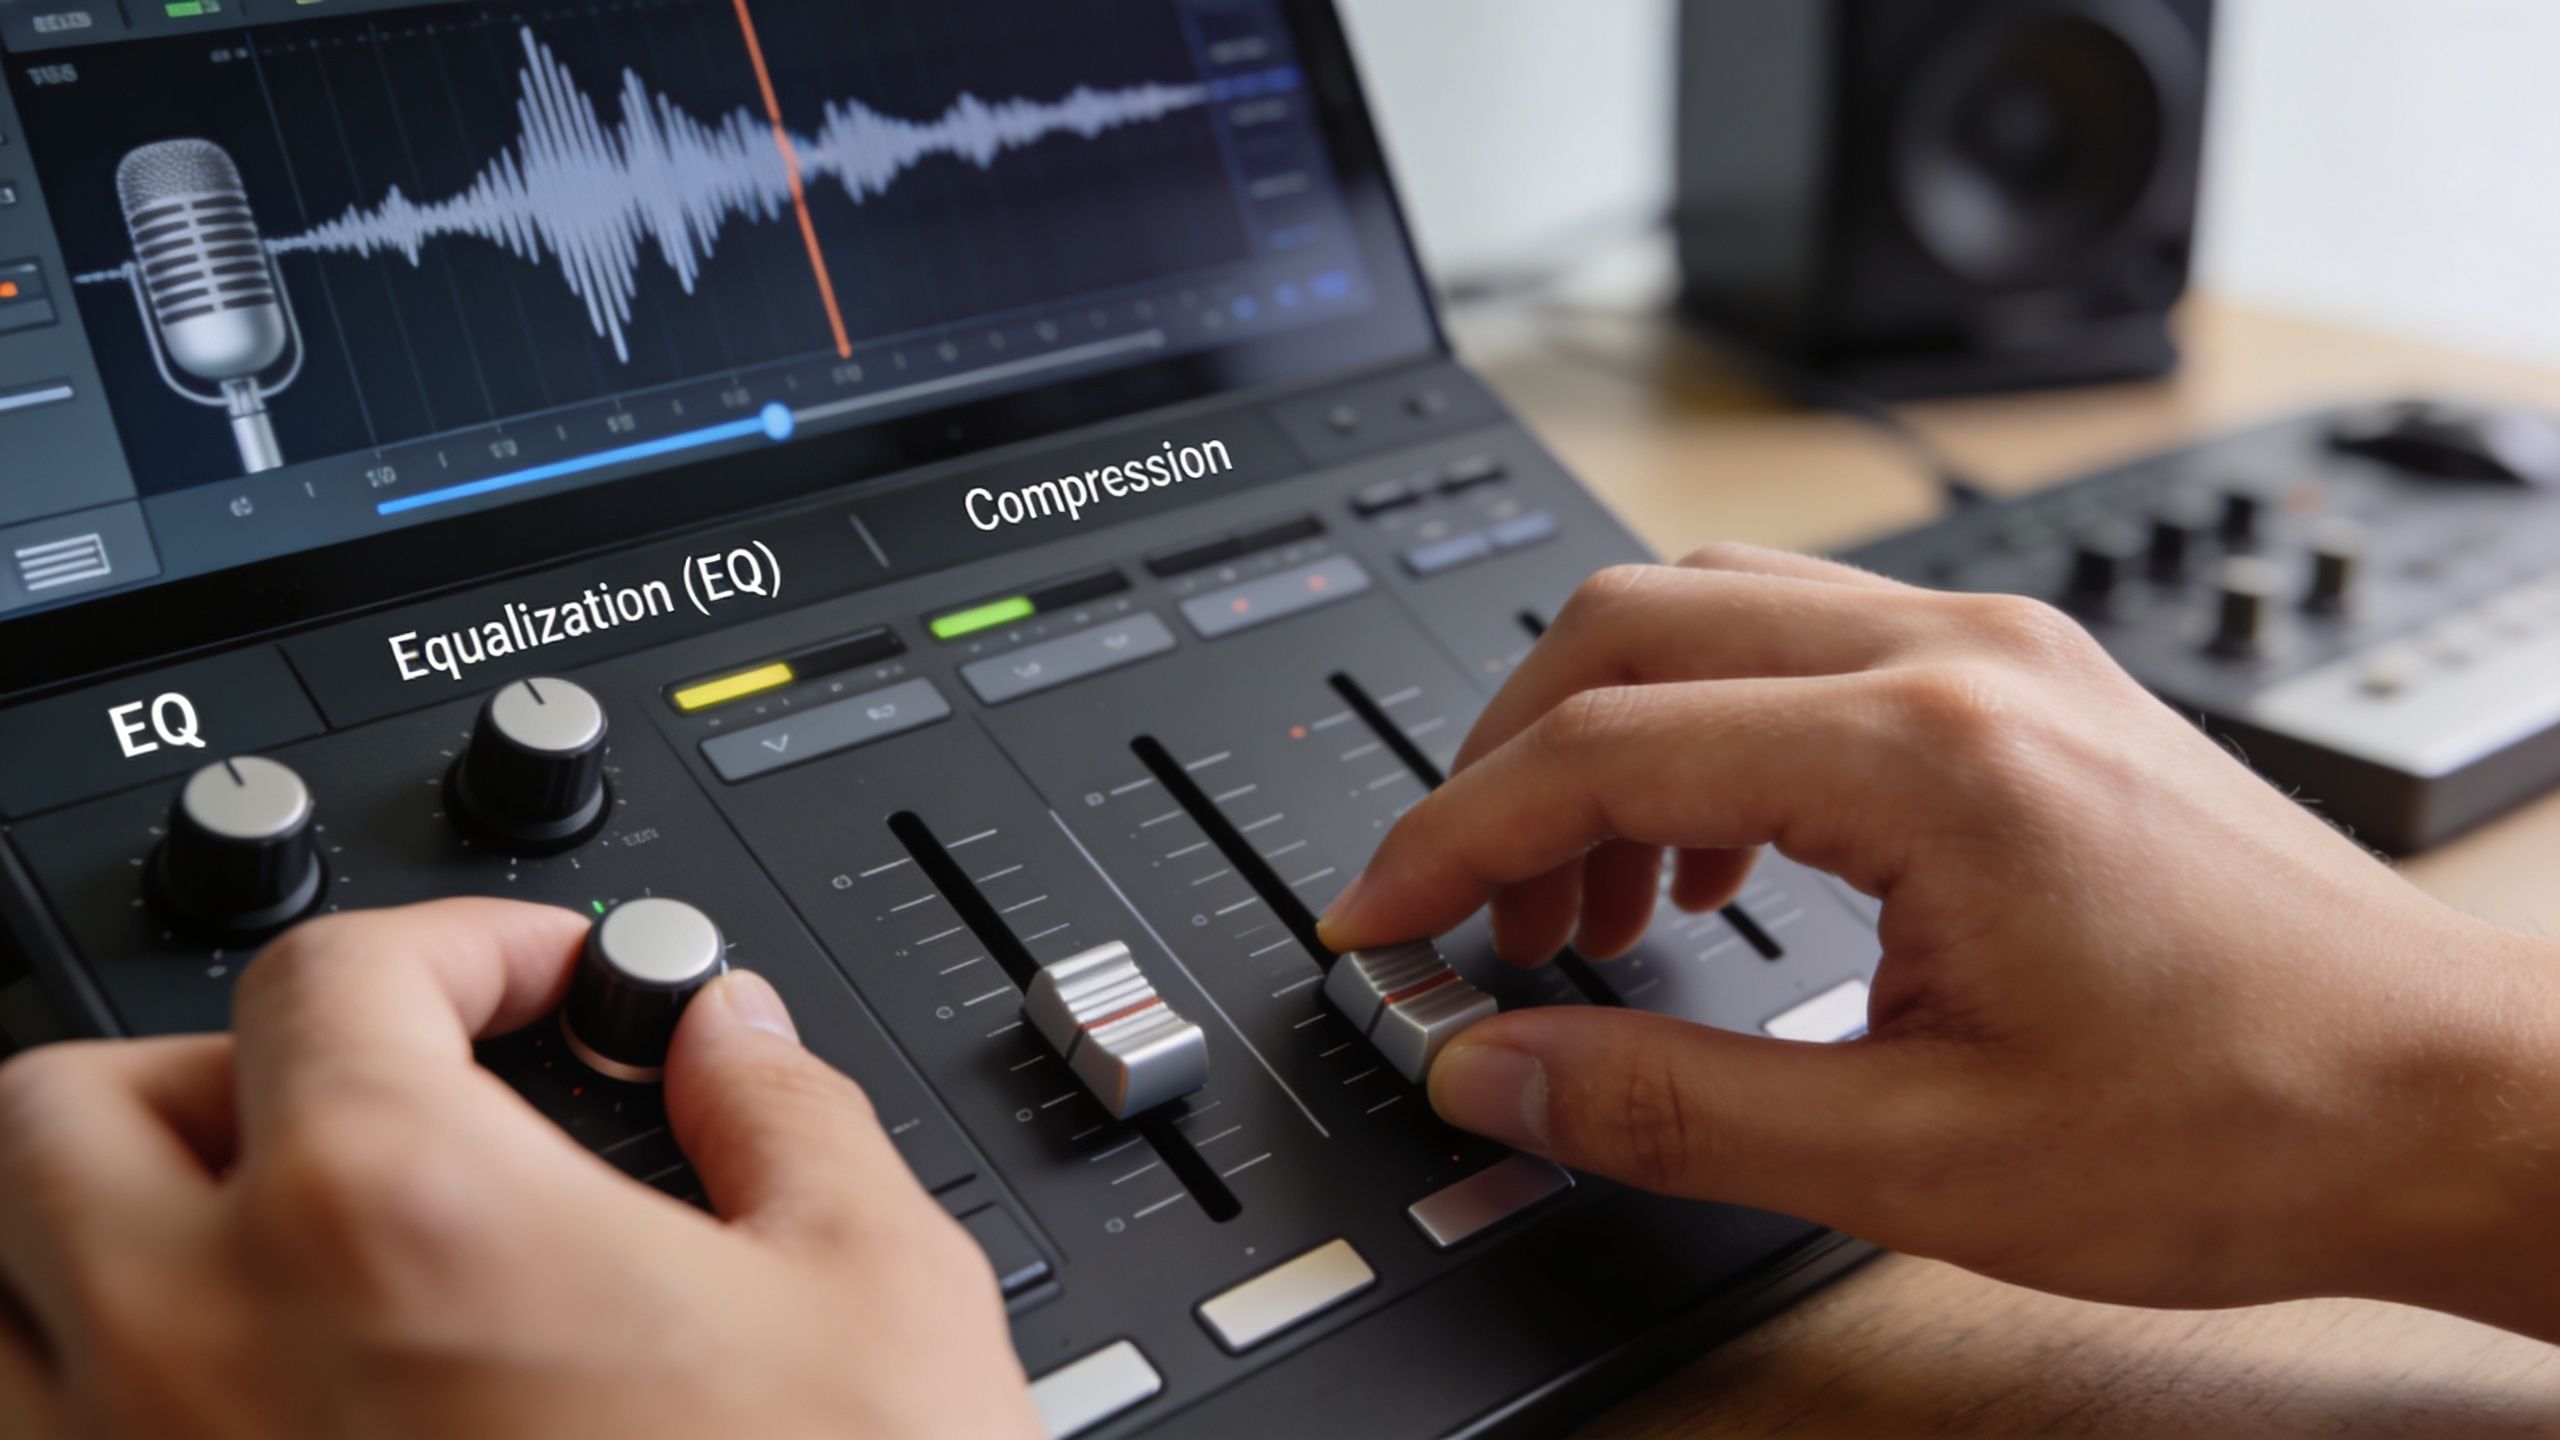
That order matters. A high-pass filter removes useless low-end energy before the compressor reacts to it. If the compressor sees rumble first, it can clamp down for the wrong reasons.
A simple voice-shaping chain often looks like this:
| Move | What it does | Why it matters |
|---|---|---|
| High-pass filter | Trims low rumble | Keeps mud out of the compressor |
| Subtractive EQ | Cuts boxiness or harshness | Clears space before boosting anything |
| Compression | Evens out level swings | Makes speech easier to follow |
| De-esser | Tames sharp sibilance | Prevents fatigue in headphones |
| Limiter | Catches final peaks | Protects the master from clipping |
Use compression for consistency, not loudness
Compression gets misunderstood because people chase “radio sound” instead of control. For spoken word, the point is simple. Quiet phrases shouldn't disappear, and laughs or emphatic words shouldn't jump out so hard that the listener reaches for volume.
Good compression on podcasts feels boring in the best way. It makes the episode feel settled.
A few practical rules help:
- Start moderate: A 4:1 ratio is a strong starting point for podcast speech.
- Watch gain reduction, not just settings: If every phrase is being crushed, back off.
- Use attack and release musically: Fast enough to catch spikes, slow enough to avoid choking the voice.
- Check sibilance afterward: Compression can make harsh S sounds more obvious.
A voice track should sound controlled, not pinned to the wall.
EQ should stay equally disciplined. If the voice is muddy, cut mud before boosting presence. If it's thin, don't automatically add top end. Sometimes the right move is less high frequency and slightly better midrange balance. The best podcast vocal sound isn't the brightest one. It's the one that stays intelligible, even on laptop speakers, earbuds, and car systems.
Mixing and Mastering for Every Platform
You finish an episode, export it, and it sounds solid in the studio. Then Spotify turns it down, Apple Podcasts reveals a harsh intro sting, and the guest suddenly feels louder than the host on earbuds. That is the part of the workflow where polished editing either holds up or falls apart.
Mixing for podcasts is simpler than music mixing, but the margin for error is smaller. Listeners will forgive a plain vocal tone. They will not forgive inconsistent dialogue, music that masks words, or an episode that jumps in level from segment to segment. The agency approach is to solve the few things audiences notice, then stop. You can spend an hour automating tiny details nobody will hear. That hour is usually better spent checking the master on real devices and exporting clean deliverables.
Balance the conversation before you sweeten anything
Get the dialogue stable first. Every other decision depends on that.
With multi-speaker shows, I match perceived loudness, not just meter readings. One host may have more low-mid weight, a guest may be sharper in the upper mids, and two tracks that peak the same can still feel mismatched. The fastest way to catch that is to listen to speaker handoffs at normal volume. If one voice feels like it steps closer to the mic every time they enter, fix that before touching music or final bus processing.
Music should support structure, not compete with speech. Ducking helps, but automatic ducking is only the starting point. It often pulls too hard or recovers too late, especially under fast-paced dialogue. Manual automation takes longer, but only on the moments that matter: intros, sponsor reads, scene changes, and emotional pauses. That is usually enough to make the mix feel intentional without turning the session into a two-hour cleanup job.
A practical final-mix check:
- Match speaker presence: Keep host and guest equally easy to follow unless a deliberate editorial choice says otherwise.
- Tuck music under the words: If the listener notices the bed more than the sentence, lower it.
- Check edit points at real listening volume: Mouth clicks, rough fades, and chopped breaths often show up here.
- Test on earbuds and speakers: Earbuds expose harshness. Small speakers expose muddy mids and buried dialogue.
Teams turning one recording into clips, audiograms, and alternate cuts save time when the master is stable from the start. A stronger content repurposing strategy depends on a source mix that can be trimmed and re-exported without new repair work every time.
Master to a delivery spec you can repeat every week
Mastering for podcasts is about translation. The file needs to survive encoding, platform normalization, and cheap playback systems without sounding brittle, crushed, or oddly quiet.
According to Zencastr's guide to podcast editing and mastering, Spotify and Apple apply loudness normalization, so chasing raw loudness is usually wasted effort. A cleaner approach is to hit a consistent target, leave true-peak headroom, and make sure the episode still sounds natural after the platform adjusts playback.
For day-to-day production, this spec is reliable:
| Setting | Recommendation | Reason |
|---|---|---|
| Loudness target | -16 LUFS integrated | A practical spoken-word target that plays back consistently |
| Spotify reference | -14 LUFS | Useful as a platform reference, not a reason to overpush the master |
| True peak limit | -1 dBTP | Reduces clipping risk after MP3 or AAC encoding |
| Export format | MP3 at 128-192 kbps | Widely accepted and efficient for distribution |
| Metadata | ID3 title, artwork, chapters | Improves organization and playback context |
Chapter markers are worth adding on longer shows with clear topic breaks. They help listeners jump to the section they want, which is often the difference between a partial play and a finished episode.
Before export, run three checks:
- Voices stay even from start to finish.
- No peaks clip or splatter after encoding.
- The episode still feels natural once loudness normalization changes playback level.
If the master only sounds good inside the DAW, it is not ready.
When to Outsource Your Podcast Editing
Monday starts with a recorded episode and a simple plan. By Thursday, the cut still is not approved, clips are not exported, and the person who should be writing the newsletter is hunting down version notes in Slack. That is usually the point where editing stops being a creative task and starts eating the rest of the workflow.
Keeping editing in-house works best when the format is straightforward, the release cadence has breathing room, and someone on the team likes post-production. I have seen plenty of teams hold that setup together for months. Then the show grows, guests get busier, the episode mix gets more ambitious, and the edit becomes the thing nobody wants to own.
The clearest signal is not audio quality. It is drag.
Look for a few patterns:
- Episodes miss their publish date even after recording is done: Post-production has become the bottleneck.
- Good content ideas get cut early: The team avoids multi-guest interviews, remote panels, or video episodes because they know the edit will sprawl.
- Feedback is messy: Notes live in email, chat, and comments, and nobody is sure which version is current.
- The show sounds different week to week: One episode feels tight and polished. The next feels rushed because nobody had time for a full pass.
At that stage, outsourcing is less about getting fancy edits and more about protecting consistency. A good editor gives you a repeatable process, clear handoffs, and fewer last-minute fixes.
Video podcasts raise the cost of DIY even faster. Audio still needs cleanup, leveling, and final delivery. On top of that, transcript-based cuts need to stay in sync, camera switches need to feel intentional, and every revision takes longer because one small timing change can ripple through the whole timeline. Many creators run into sync drift, awkward visual cuts, or edits that looked fast in the demo but take much longer in real production.
That is why I usually recommend outsourcing once the podcast feeds a broader content system. If the episode also has to support YouTube, short-form clips, sales enablement, thought leadership, or lead generation, saving a few internal hours is not the primary objective. The goal is publishing on time with a format the team can sustain. For brands in that position, specialized podcast marketing services often do more than a basic editing vendor because the workflow covers distribution and repurposing, not just cleanup.
Choose an editor or agency the same way you would choose any production partner. They should have a review process, naming conventions, backup handling, revision boundaries, and delivery standards. Removing filler words is easy. Keeping pacing natural, voices consistent, and the team out of post-production chaos is what saves time.
If the show needs to sound polished without draining the team's time, Get Up Productions helps brands launch and scale video podcasts with professional audio editing, mastering, YouTube-ready production, and repurposing built into the workflow. It's a practical option for founders, marketers, and thought leaders who want authority-building content without carrying the full post-production load themselves.